Integrating Your Rocketbook App with OneDrive
OneDrive is a file hosting service created by Microsoft to organize your daily notes, whether it be from classes, teaching, work, etc. Integrate your OneDrive account with the Rocketbook app and your notes will be sent directly your preferred folder. Follow the step-by-step setup process outlined below to set-up OneDrive as one of your app Destinations.
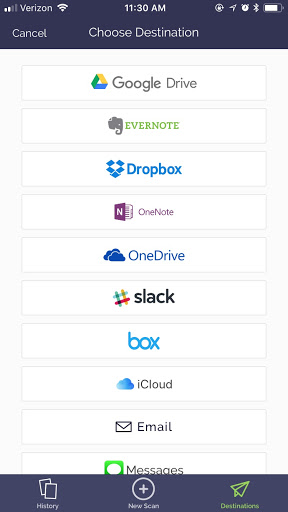
Step 1: Choose OneDrive As a Destination
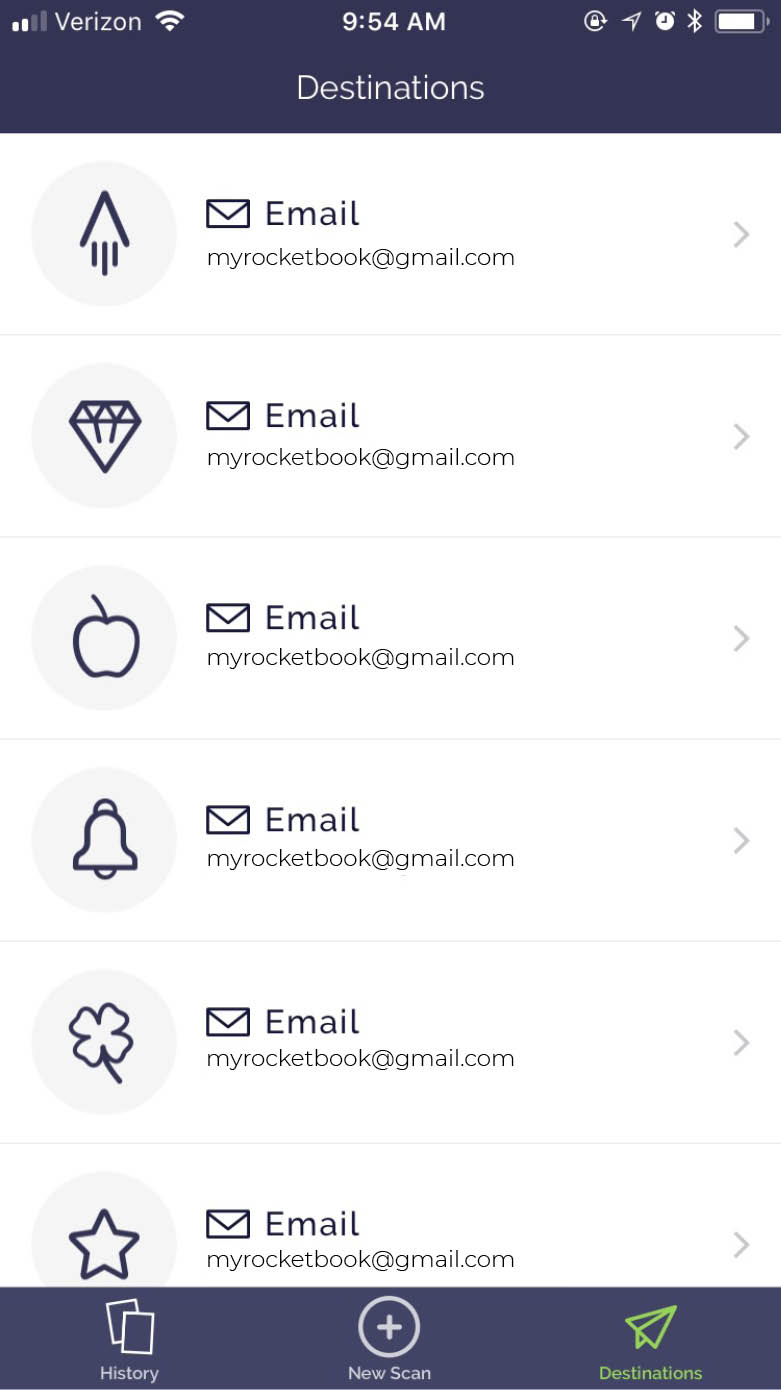
In the Rocketbook app, go to Destinations![]() > Tap on a symbol > Change Destination > OneDrive
> Tap on a symbol > Change Destination > OneDrive
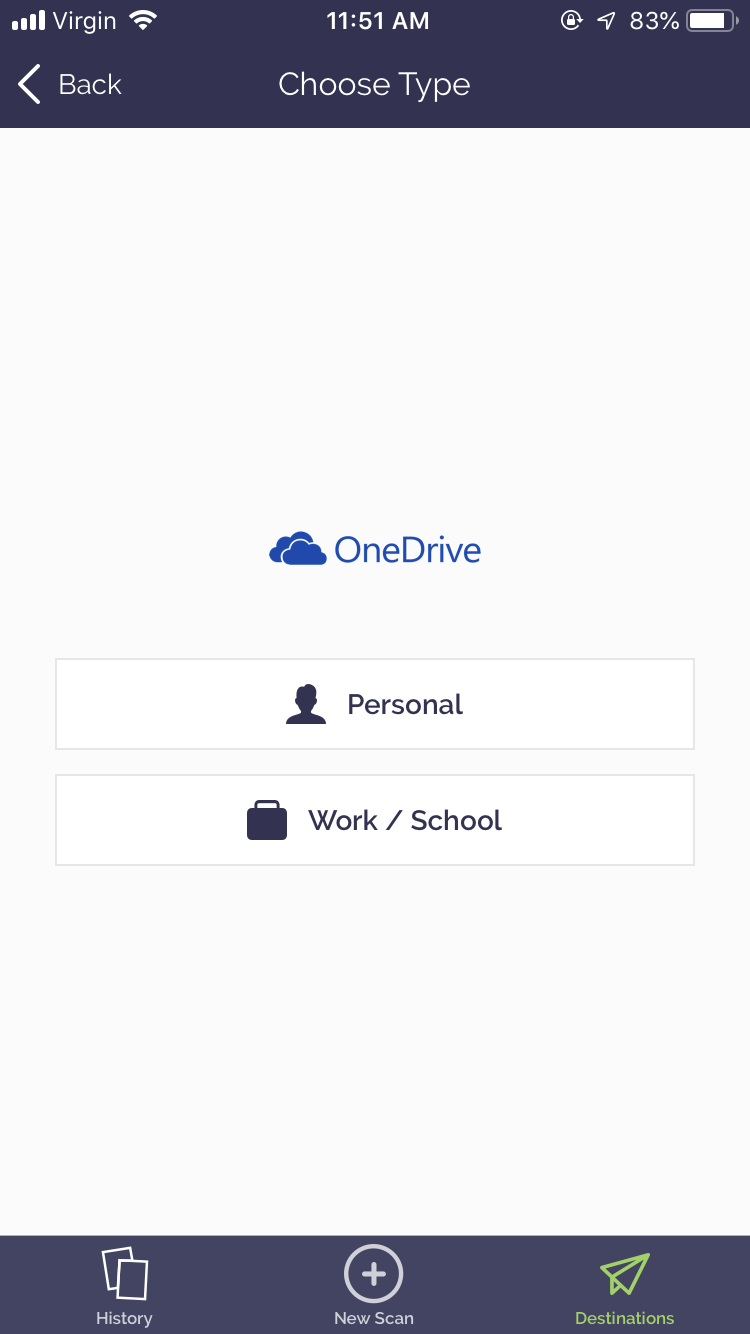
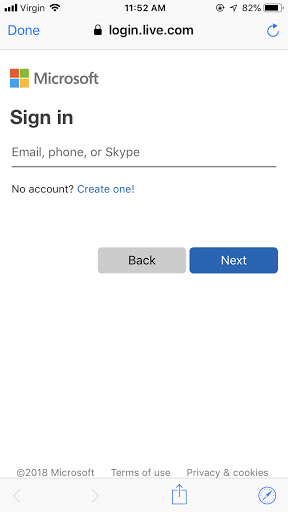
Step 2: Log Into Your Existing OneDrive Account
Now you’ll be prompted to select the type of OneDrive account you have (Personal or Work/School) before you’re asked to sign in with your OneDrive credentials.
After you’ve signed into OneDrive, you will see a popup asking for your permission to connect the Rocketbook app to OneDrive. Select Yes to continue setup.

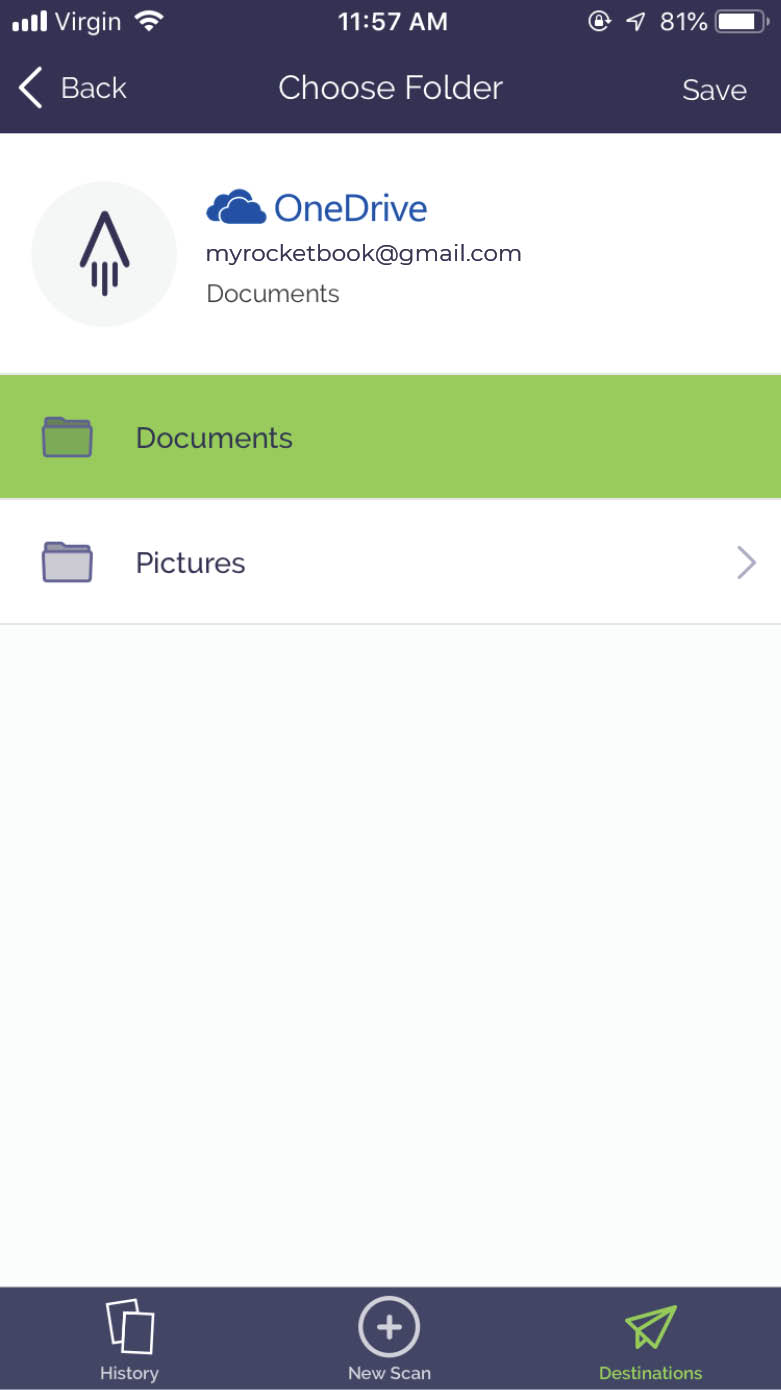
Step 3: Select Your OneDrive Folder
Once you’re connected to your preferred OneDrive account, a new screen will appear that shows the existing folders. Select the existing folder you’d like to set as a destination and tap Save at the top right corner.
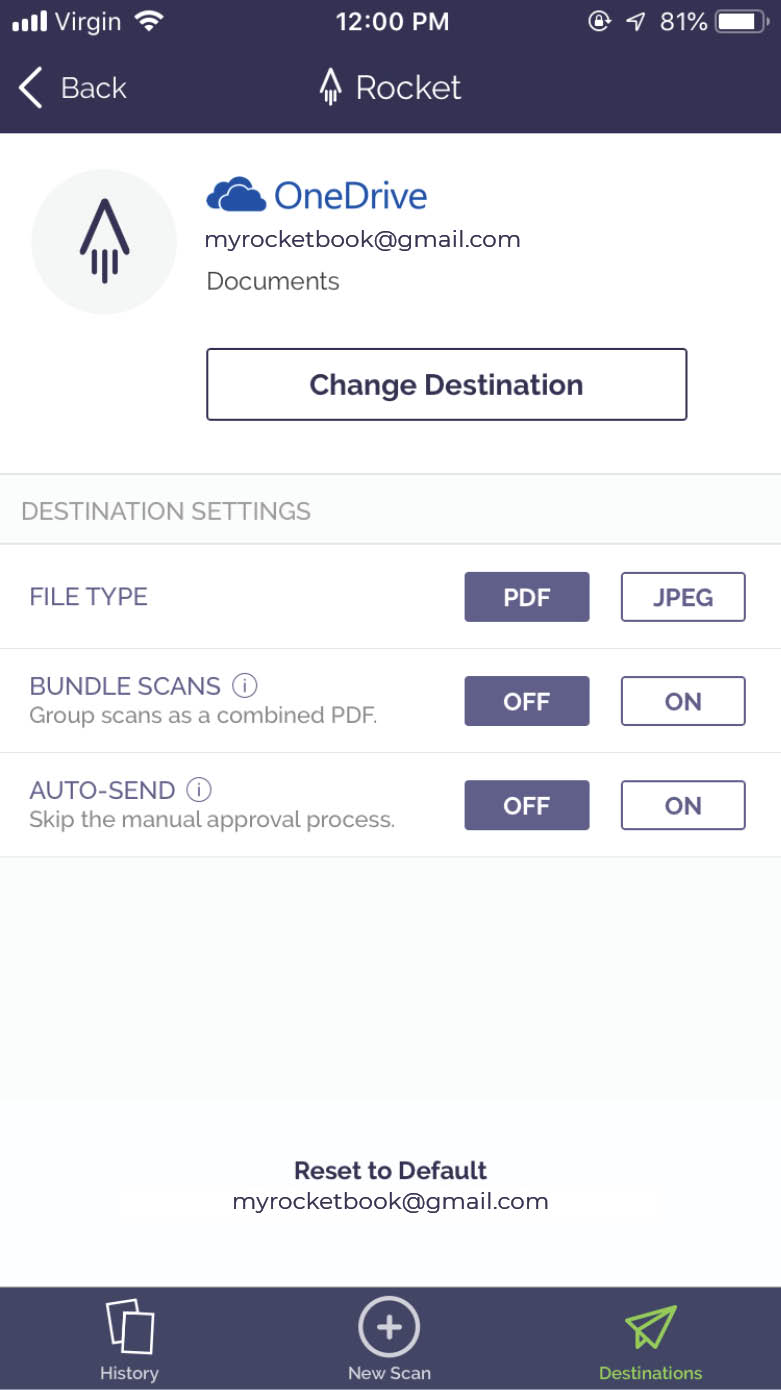
Step 4: Consider Destinations Settings
Congrats, your OneDrive Destination is now set up! To get the most out of this destination, explore your Destination Settings. Here you can decide if you want your scans to be PDFs or JPGs, if you’d like to turn on Bundle Scans, and if you want to set up Auto-Send.
Follow us: Facebook | Instagram | Twitter | LinkedIn | YouTube
For additional questions or assistance, please email us at hello@getrocketbook.com
Comments
0 comments
Article is closed for comments.